Publish Election
Every time an administrator modifies data at the electoral event, election, contest, or candidate level, those changes must be published to become visible in the Voter Portal. This ensures that the voting interface remains accurate and synchronized with the latest administrative configurations.
Step 1: Access the Publish Menu
- Select the Electoral Event you wish to update from the sidebar.
- Navigate to the Publish menu in the top navigation bar.
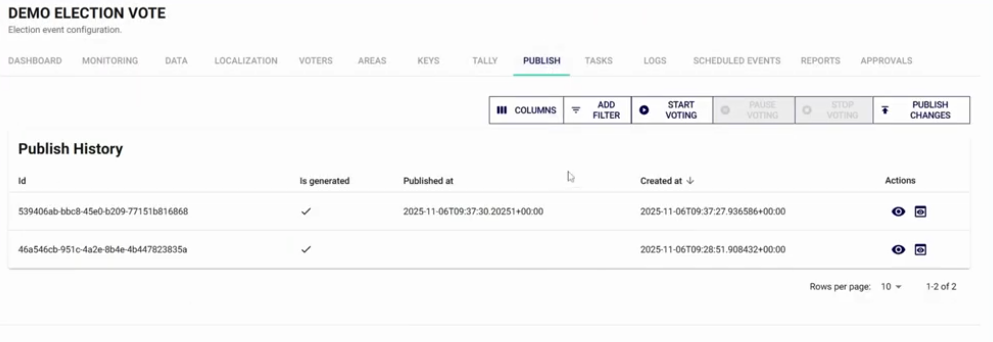
- The Publish History screen will display a log of all previous publications, including dates and generation status.
Step 2: Preview Changes (Optional but Recommended)
Before making changes live for voters, you can use the Preview function to verify the digital ballot's appearance.
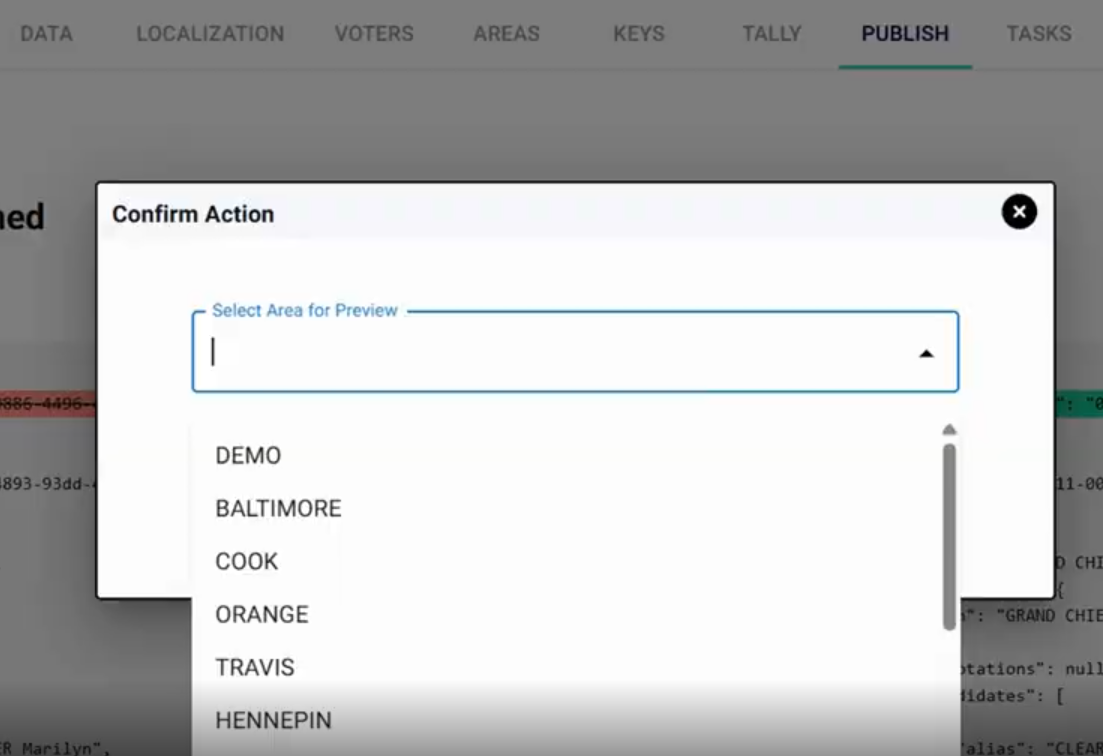
- Click the eye icon in the Actions column or the
Previewbutton. - Select a specific Area to preview, as ballots may vary by location.
- The system will open the Voter Portal in a demo mode, allowing you to review the user experience without casting real votes.
Step 3: Publish Changes to the Voter Portal
To synchronize the Admin Portal's state with the live voting environment:
- Select the
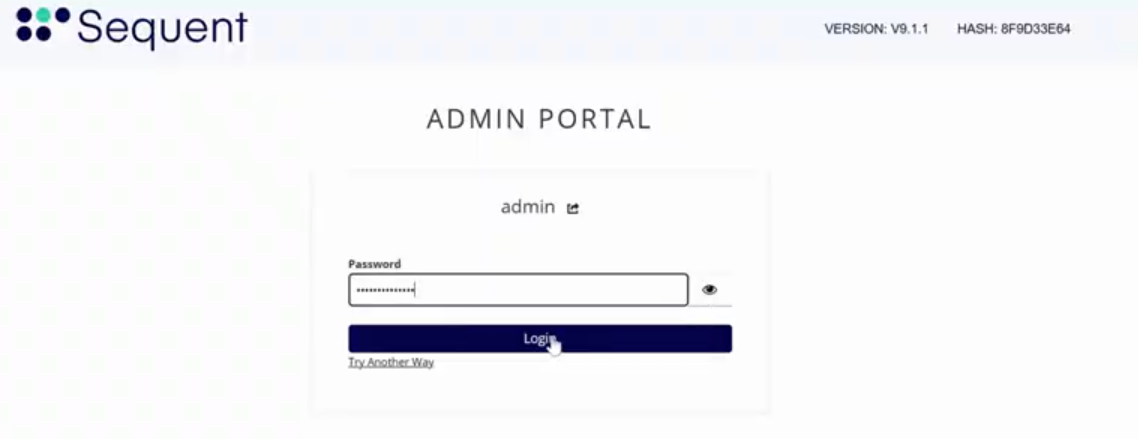
Publish Changesbutton. - Authentication: For security and to prevent accidental updates, you must enter your Administrator Password to confirm the action.
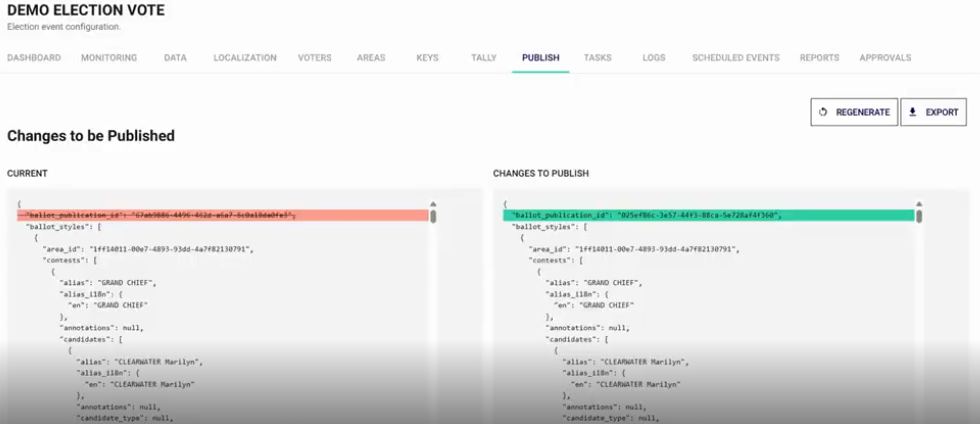
- Review the comparison view. The system highlights changes in green (newly added or modified data) compared to the current live state.
- Confirm the final prompt. Once the task status reaches Success, the updates are live for all voters.
When to Publish
You should perform a publication after:
- Correcting a candidate's name or adding a description.
- Adding or removing a contest from a specific area.
- Updating the overall ballot design or localization strings.